Can a Beginner Really Use a UV Laser? A Plain-English Guide to UV Laser Settings for Glass
GK
Every once in a while, a new tool shows up in an industry and everyone collectively agrees to make it sound far more complicated than it actually is.
UV lasers are currently enjoying that moment. Spec sheets get longer, terminology gets heavier, and suddenly words like “frequency” and “Q-pulse” are being spoken in hushed tones, as if turning the wrong knob might open a portal to another dimension. Somewhere along the way, the simple act of engraving glass became wrapped in an invisible warning label that reads: Advanced users only. Let’s relax.
Before we go any further, a necessary disclaimer—because lawyers, comment sections, and internet experts all exist. We are not laser physicists. We are not PhDs. We are not sitting in a lab coat next to an oscilloscope. What we are is people who buy machines, unbox them, run them, mess things up, fix those mistakes, and repeat the process until patterns become obvious. What follows is not theory. It is what actually happens at the machine.
Let's get to it!
If there are two settings that make brand-new UV owners feel like they accidentally enrolled in an electrical engineering course, it’s Frequency and Q-Pulse. They sound intimidating, they look technical, and they get treated like forbidden knowledge. In reality, they are neither complex nor dangerous once you understand what they actually control.
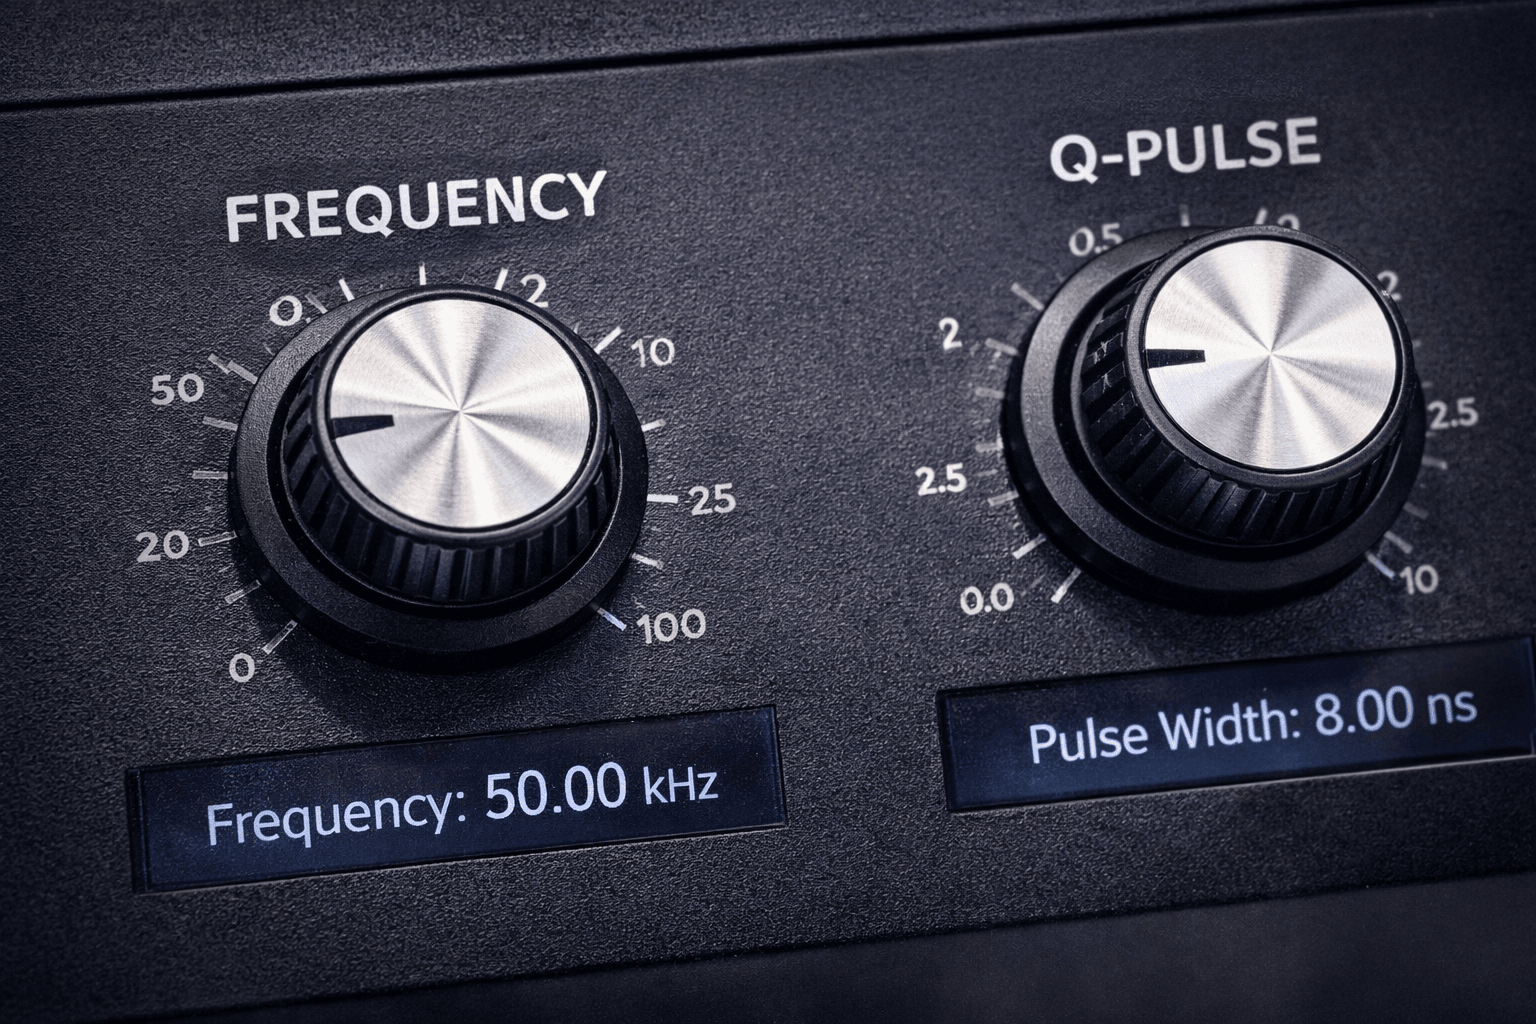
Frequency is simply how many laser pulses fire per second. That’s it. No mystery, no wizardry. If your machine is set to 30 kHz, the laser fires thirty thousand pulses per second. At 100 kHz, it fires one hundred thousand pulses per second. Frequency does not control speed, and it does not control power. It controls how the laser’s energy is divided up over time.
At lower frequencies, fewer pulses are fired, but each pulse carries more energy. Think fewer hammer taps, but harder ones. At higher frequencies, many more pulses are fired, but each pulse is gentler. Think rapid tapping instead of pounding. On glass, this distinction matters a lot. Lower frequency can create brighter, more aggressive fractures that look fantastic right up until they don’t. Higher frequency spreads the energy out and produces smoother, safer frosting. This is why frequency feels scary—it directly influences how violent or polite the laser is being to the glass. And glass, it turns out, remembers violence.
Q-Pulse, sometimes called Q-switching, is the setting that really sends people running to Google. It sounds like something that should require a certification course and a signed waiver. In reality, it simply describes how the laser stores and releases energy. Instead of firing energy continuously, the laser briefly stores energy and then releases it in a very short, very controlled burst. That burst is the pulse. Q-Pulse determines how sharp and intense each individual pulse is, not how many pulses occur. Frequency decides how often the laser taps. Q-Pulse decides how crisp each tap is.
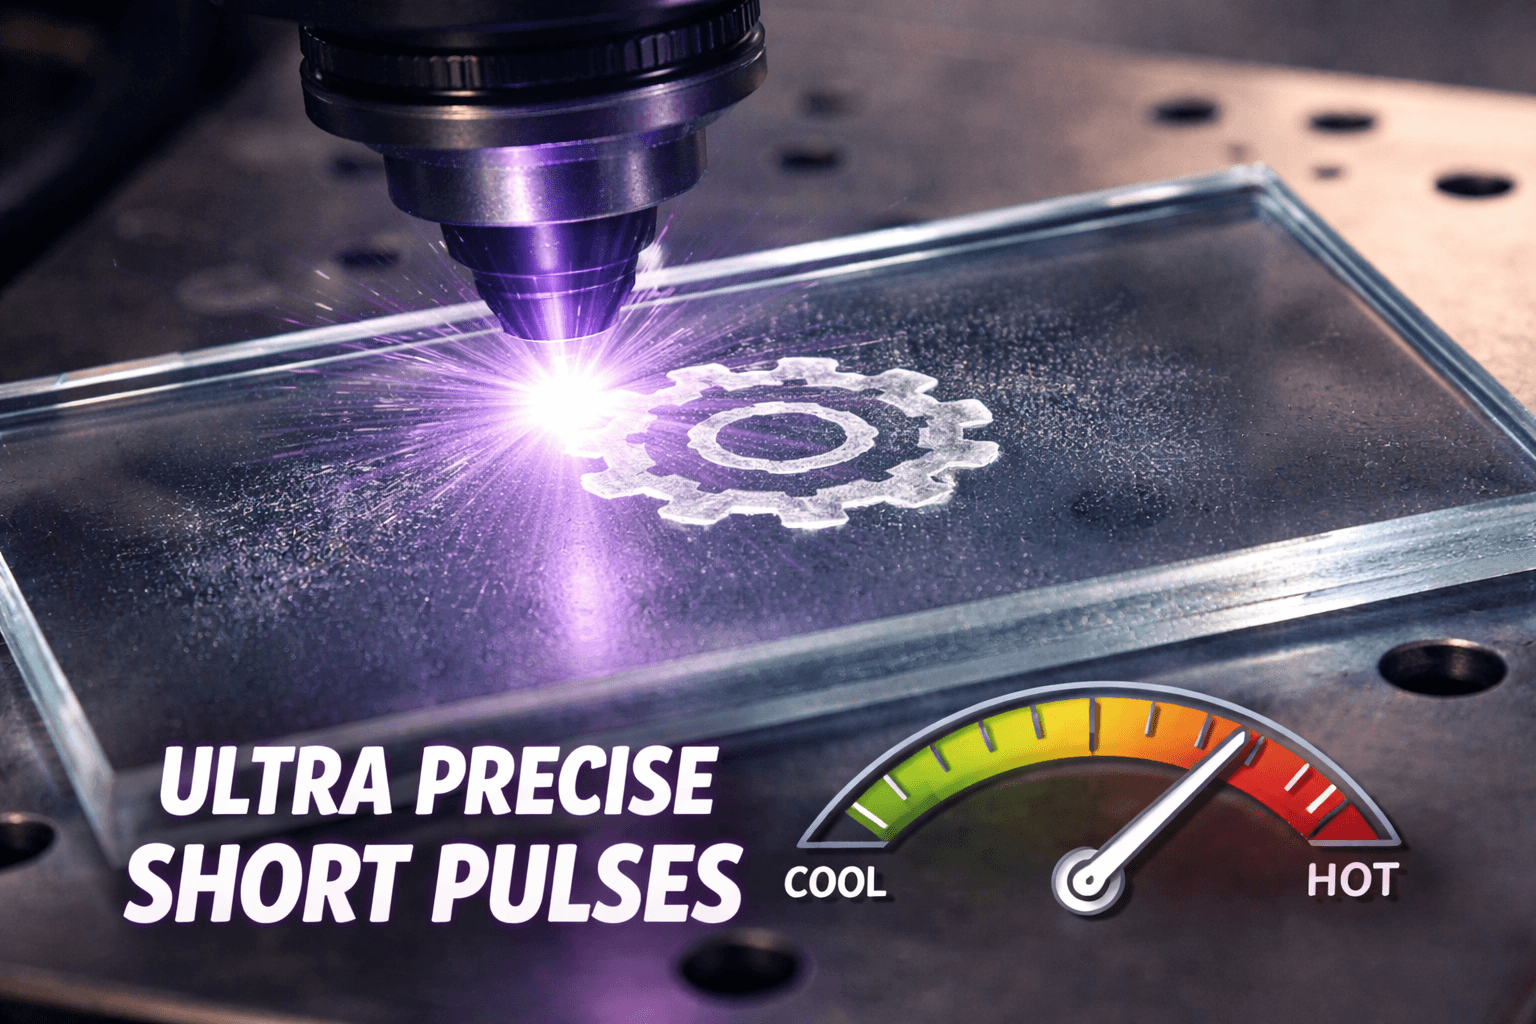
This is where UV lasers earn their reputation for precision. A short, sharp pulse delivers energy so quickly that the material does not have time to heat up and spread damage. That is why UV lasers can engrave glass cleanly without melting it. For new users, the key realization is this: Q-Pulse is not a danger setting. It is a precision setting. Most machines manage it automatically. Some allow indirect control. Either way, you are not adjusting nuclear output. You are deciding how cleanly energy is delivered.
Once frequency and Q-Pulse stop sounding like forbidden knowledge, everything else on the control panel suddenly becomes far less dramatic. Power controls how hard each pulse hits, but on a UV laser it acts more like a ceiling than a goal. Too much power does not produce better engraving; it produces regret. Speed controls how long energy sits in one place, and slower does not mean safer. Slower stacks energy, and stacked energy is how cracks are born. Line or dot spacing controls brightness more than power ever will, which surprises almost everyone the first time they see it. Focus controls where the fracture happens, not how sharp the artwork is, and slight defocus often improves consistency on glass.
This is also where one of the biggest myths about UV lasers falls apart. New users worry they will instantly ruin the machine, destroy expensive glass, or permanently scar themselves emotionally by touching the wrong setting. That is not how UV lasers behave. They fail quietly, not explosively. You will see haze before cracks. You will hear sharper sounds before damage. You will feel texture changes before catastrophic failure. The machine gives feedback long before it hands out consequences.
The mental shift every new UV owner has to make is simple but critical. On a UV laser, quality comes from restraint, not force. If you approach the machine calmly, it behaves calmly. If you approach it like a caveman attacking a slider bar, glass will remind you that it has opinions.
So can a newbie master a UV laser right out of the box? No. Mastery takes time, repetition, and experience. But can a brand-new buyer confidently engrave glass, understand what the knobs actually do, and learn safely without fear? Absolutely. Once Frequency and Q-Pulse stop sounding like secret knowledge, the machine becomes what it always was—a tool. And tools are meant to be used.
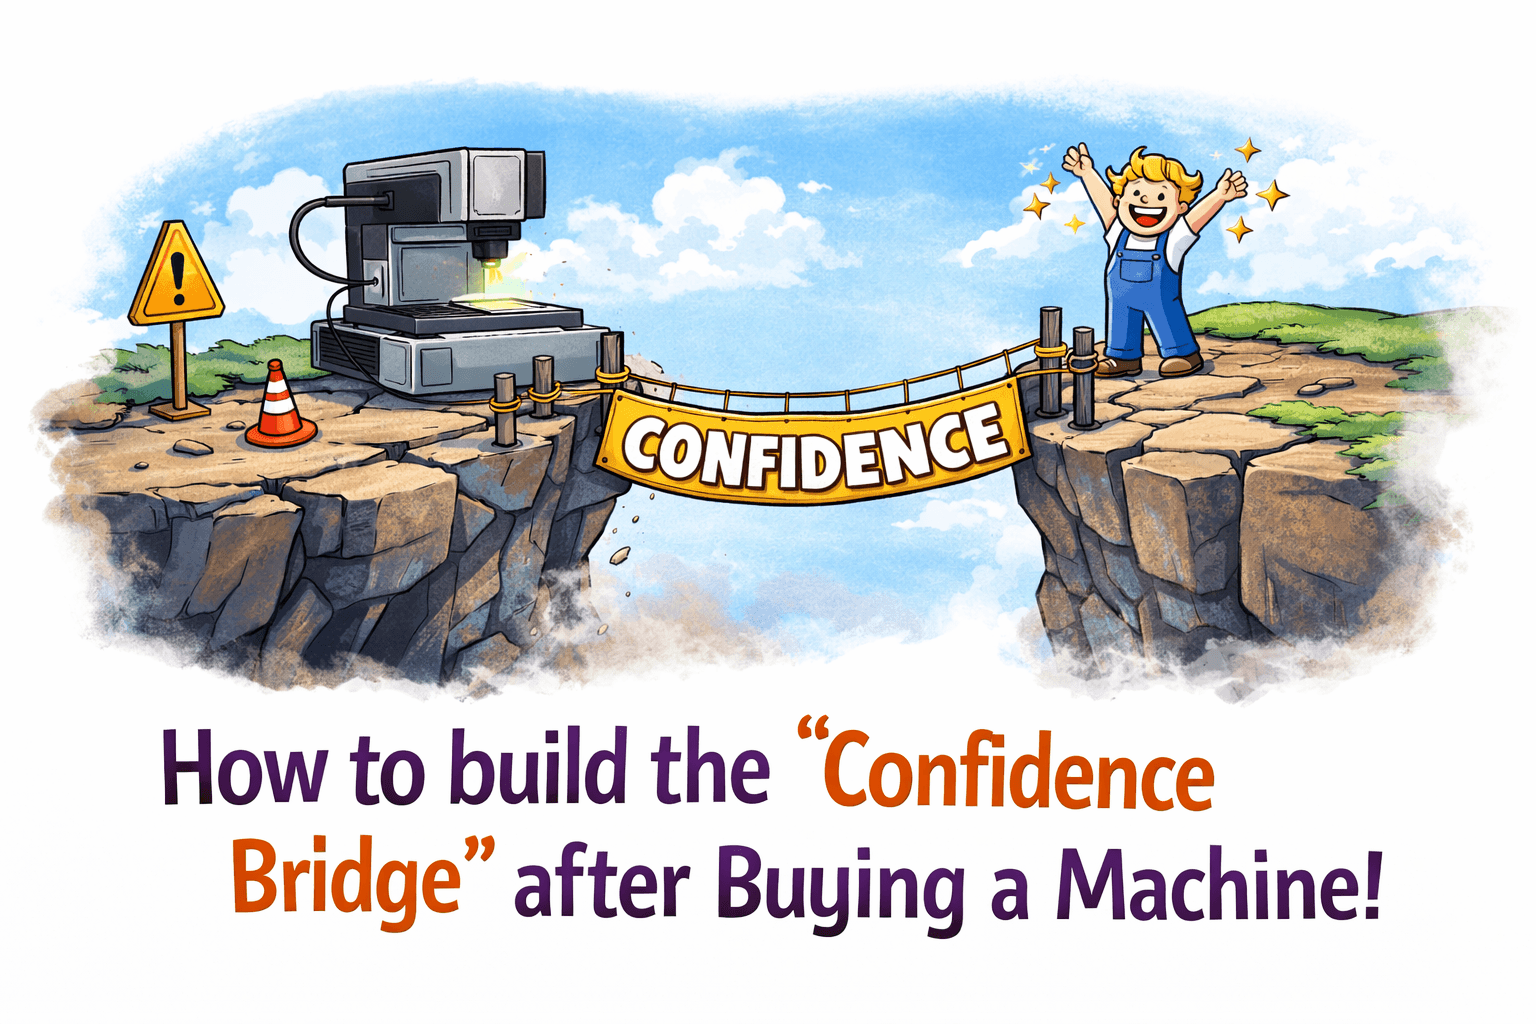
How to build the "Confidence Bridge" after Buying a Machine!
If I were going to stop explaining knobs and actually tell someone what to do, this is where I would start. Not with a logo, not with a photo, and definitely not with a customer’s heirloom crystal. I would tell them to buy a plain, flat glass coaster—the most boring one they can find. No bevels, no curves, no texture, no emotional attachment. I’ll provide an Amazon link because there is no honor in sourcing test glass locally, and because breaking cheap glass is a learning experience, not a tragedy.
Once that coaster shows up, I would ignore every urge to engrave something meaningful and instead make a few very simple squares. Nothing artistic. Nothing clever. Just squares. This is the UV version of what CO₂ users already understand from LightBurn test patterns, and it works for the same reason: you are teaching your eyes and hands what the machine does when you change one thing at a time. You will most likely do this to 3 or 4 and then have some left over for real art.
:Tech note - Elevate the coaster off the bed so there is no reflection that bouces up or laser strike that marks your bed.
I would start with one conservative set of settings and then change only one variable between squares. One square slightly higher frequency. One square slightly lower. One square with tighter line spacing. One square with wider spacing. One square at a slightly different focus height. The goal is not to “dial it in” immediately. The goal is to see the range the machine is capable of producing on the same piece of glass, under the same conditions, without guessing.
What surprises most new users is how wide that range actually is. With nothing more than small setting changes, you can go from a deep, tactile engrave that your fingers can feel, to an ultra-fine frosting that looks almost like it was chemically etched. Both come from the same machine. Both are valid. And the ability to deliberately choose between those finishes—or blend them—is what makes UV fundamentally different from other laser types.
This is the moment when most people finally understand why UV glass engraving feels special. You’re not just marking glass. You’re shaping how light scatters inside it. You can create contrast without depth, depth without aggression, and texture without cracking. That combination of textured finishes is where UV stops being “another laser” and starts feeling like a different class of tool entirely.
In my opinion, if engraving glass is even a moderate part of what you want to do, UV is the only way to go. CO₂ can do glass, and fiber can sometimes bully its way through coatings, but UV does glass intentionally. And as a bonus, once you own a UV laser, glass stops being the end of the story. Plastics, ceramics, coated metals, delicate composites, and materials that make other lasers nervous suddenly become part of your world.
The irony is that the very thing people fear—the settings—is what gives you that control. Once you’ve run a few test squares and felt the difference between aggressive texture and soft frost with your own hands, the machine stops being intimidating. It becomes predictable. And predictable tools are the ones that let beginners do professional-looking work far sooner than they expect.
That’s the quiet truth no spec sheet will tell you: UV lasers don’t demand expertise on day one. They reward curiosity.
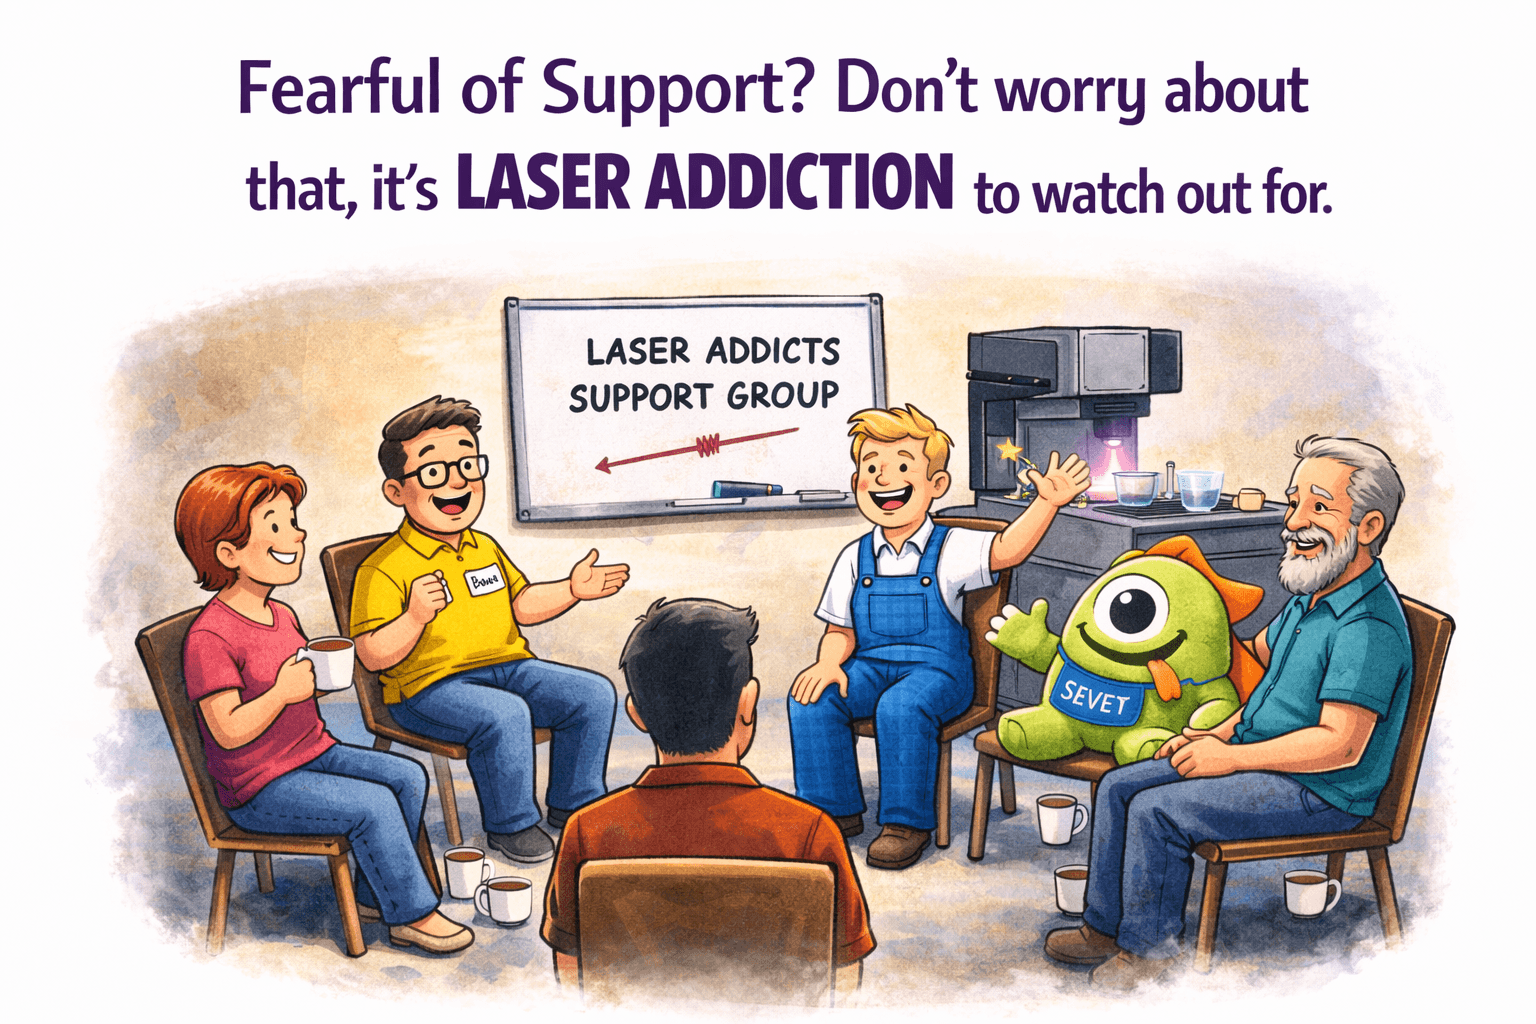
Fearfull of Support, Dont worry about that, it's Laser Addiction to watch out for.
And if after all of this you’re still thinking, “Okay… but what if I get stuck?” here’s the part no spec sheet ever mentions. You don’t do this alone. If you decide to step into the UV world, you also get access to something far more valuable than presets or manuals: other laser addicts. Inside the Laser Freedom Facebook group there are roughly a thousand people who have already made the same questionable life decisions you’re about to make, and there is a very good chance someone in that group owns the exact same machine you’re considering. Laser addicts are a strange and wonderful breed. They will test things just to see what happens, break stuff so you don’t have to, and then happily share what they learned with a complete stranger. If there is a way to make something work, they will find it. And if you post a photo of a bad engrave and ask what went wrong, someone will recognize the mistake immediately—because they already made it last month. That kind of shared experience removes most of the risk people imagine when buying a UV laser. You’re not buying a mystery box. You’re joining a community that already knows how to open it.